Just as there are several ways to skin a cat, there isn’t just one way to make wood carvings. And if you would only do research, you will see that there are actually four different types of styles that you can specialize in. If you are new to wood carvings, we suggest that you choose a style before you proceed. Why? Because it will determine the books you need to buy, and the tools you need to use to master that style. So, without further adieu, here are the different styles of woodworking.
Whittling

Whittling – This is thought to be the oldest style of woodworking. This is done with a carving knife and is characterized by visible knife strokes.
Carving-in-The-Round


Carving-in-the-round – This style offers smoother strokes and life-like sculptures in three-dimension. In order to master this style, you will need to have a set of tools, not only a carving knife. Unlike whittling, you can see more detail in this style.
Relief Carving

Relief carving – Also known as bas-relief, with this style, you take a flat piece of wood and then carve your image onto it, using the flat background as background. When you do relief carving, you get is a 2D-image not unlike pictures. The only difference is that you can feel the contours of the end result.
Chip Carving

Chip carving – With this style, you chip away at a flat piece of wood, leaving geometric patterns behind. Although this is easier to do than the other styles, it requires more time to master this skill. This really isn’t surprising considering that you are deliberately chipping away, and not chipping as a result.
In order to master any of these styles, it is important to note that each of them come with a different set of techniques and tools to get started. But perhaps the more important item in your to-do list is to understand the tools used in the trade. There are three basic tools – chisels, gouges, and V-tools.
Chisels

Chisels have a flat or straight cutting edge. They are best used to work on the edges of a project, and they should never be used on a flat surface because they tear into the wood. If you need to work on a flat surface, use a gouge.
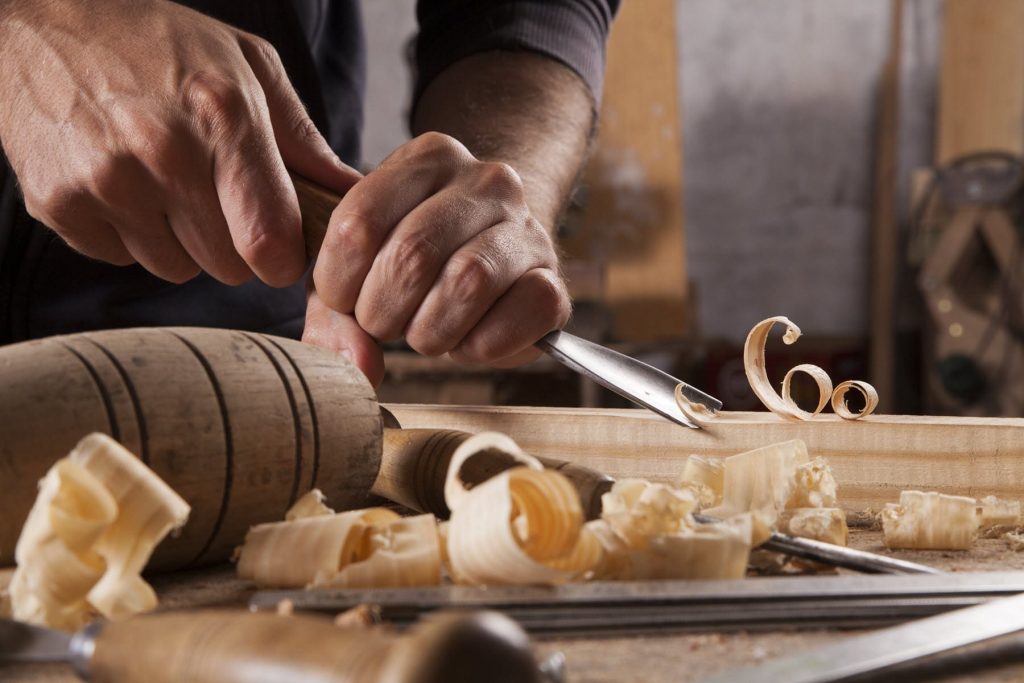
Gouges

Gouges have a curved cutting edge called a sweep. The sweep comes in different ranges – from a slight curve to a v-like one. They have numbers assigned to them. Gouge # 2 has the slightest sweep while Gouge #11 has the most curved sweep. #11 gouges are often used to carve hair or make narrow cuts.
V-tools

V-tools are used to sharpen projects and give texture to them. Just like gouges, they come in different degrees, from 45, 60, 70, and 90 degrees.
But these tools are really just the basic tools. Woodworking masterpieces usually make use of other, sometimes sophisticated tools. If you are totally new to the craft, make sure to buy a book first detailing the basics of the style you want to specialize in. Then buy a tool kit. visit Survivalgearshack.com to learn more.